Showing posts with label second grade. Show all posts

Tuesday, May 19, 2020

Windows in Art (Rashi School Online Lesson)


Windows have inspired many artists. Here are some amazing ways that artists have represented windows:

Salvador Dali, Figure at the Window, 1925

Henri Matisse, Open Window at Collioure, 1905

Rene Magritte, The Telescope, 1963

Marc Chagall, Hadassah Hospital Windows

Notre Dame Cathedral, France

Windows have been an inspiration for authors and illustrators, too! This great book, Outside my Window, by Linda Ashman, is a perfect companion to our lesson about windows. 

What do you see out your window? Try drawing the window, then observe the details of the things you see outside and draw them, too. 

Sunday, April 26, 2020

Hearts of Hope (Rashi School Online Lesson)

Hello Rashi students! We are going to participate in this great Hearts of Hope project. The Dedham Square Circle group wants to help people feel more happy and hopeful. So, they are collecting heart drawings, and they will hang them up in stores in Dedham Square. You'll create a heart, and then ask your parents to mail your drawing to them.

Materials:
  • Paper (regular size, any color)
  • Drawing or collage materials
  • An envelope and a stamp (ask parents for help with this)

Don't know how to draw a heart! It's ok! I'll show you on Thursday. Not a Rashi School student? Here's a cool video I found about how to do it with simple circles and a triangle. 

  1. Draw your heart so it takes up plenty of space on the page. If it ends up smaller, add some more hearts- no one said you should only draw one!
  2. If you're doing a collage, draw your heart first and then cut it out.
  3. Decorate your heart and the page around it- make sure to really fill up the page so people have lots to look at!
  4. Write a message of hope and/or happiness if you'd like
  5. Ask your parents to send it to the address below.

I was so excited to hear about this project, because there are some famous hearts in Art! 

They are by an artist named Jim Dine. He loved hearts and he made lots of paintings and big sculptures with them. 


Four Hearts, 1969

The Heart, South of Naples, 1986

The Orchard, 2006


Parents: Here is the information you need to send out the hearts. Thank you for your participation!


Saturday, April 18, 2020

Stained Glass Drawings (Rashi School Online Lesson)

Today we are going to create drawings that will look like a kind of art called stained glass. Stained glass is made with colored glass and metal. It is not easy to do, I have tried it!

Here are some famous artists who have made stained glass.

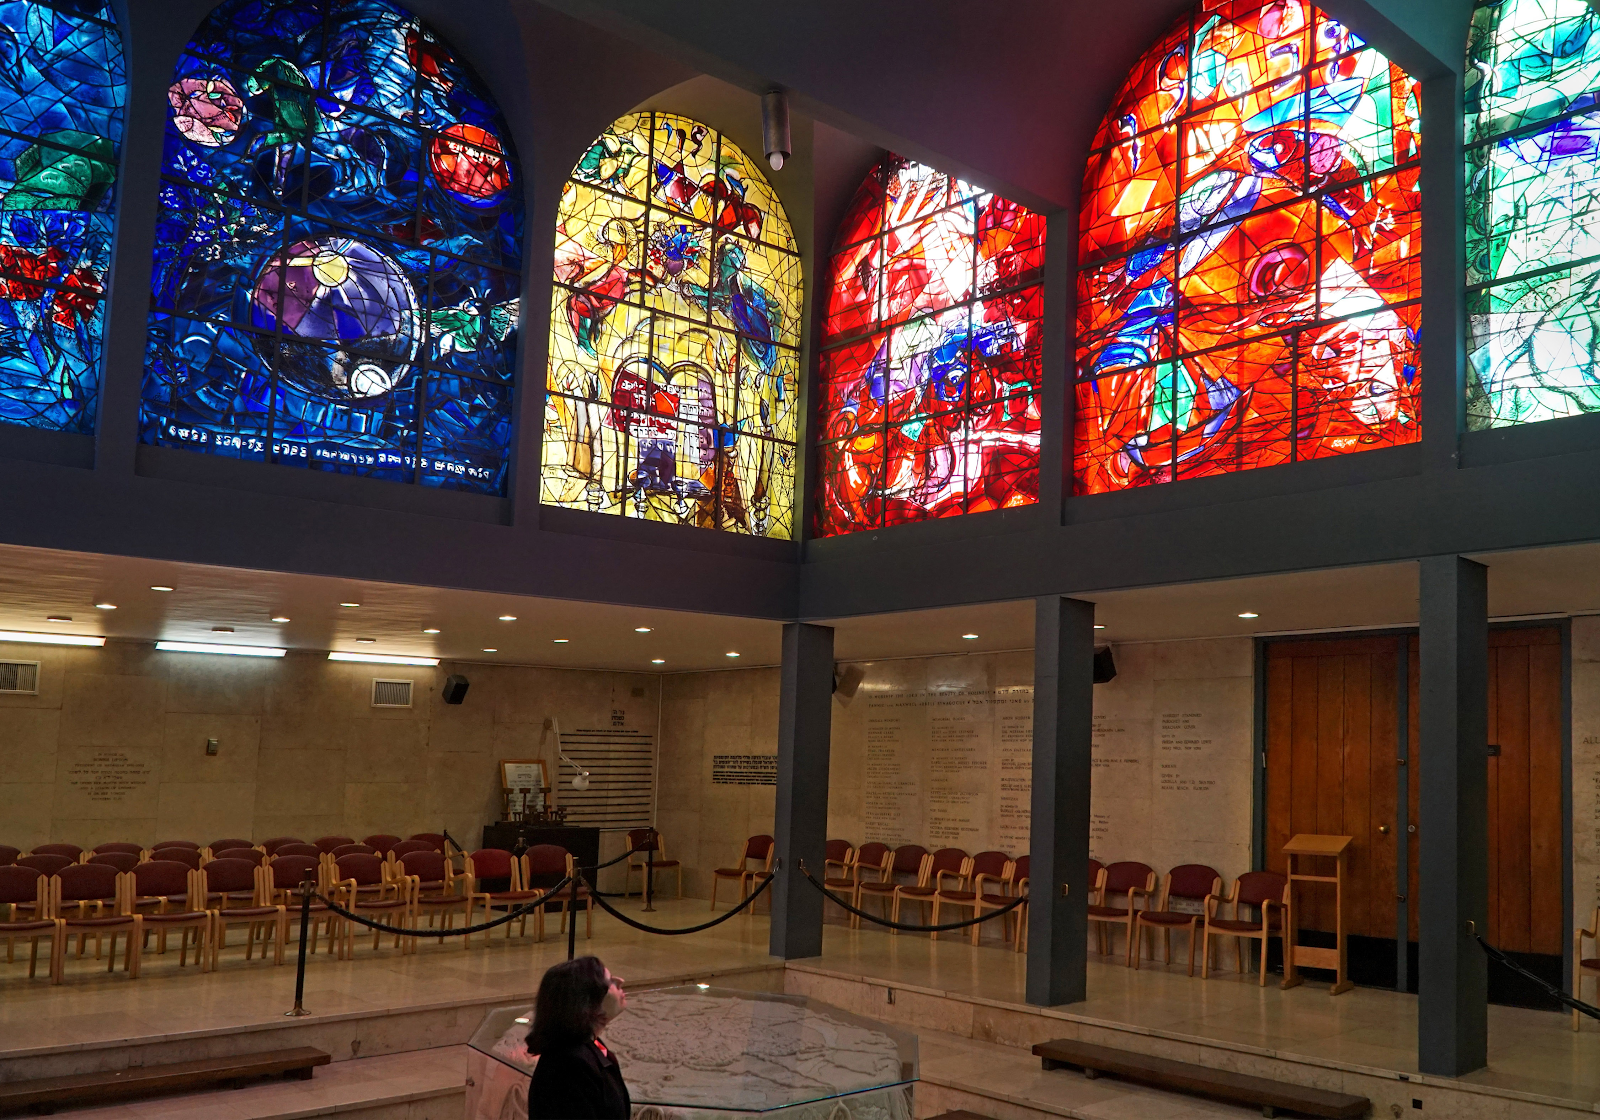
Marc Chagall, Tribe of Benjamin, 1962


Kehinde Wiley, Saint Remi, 2014


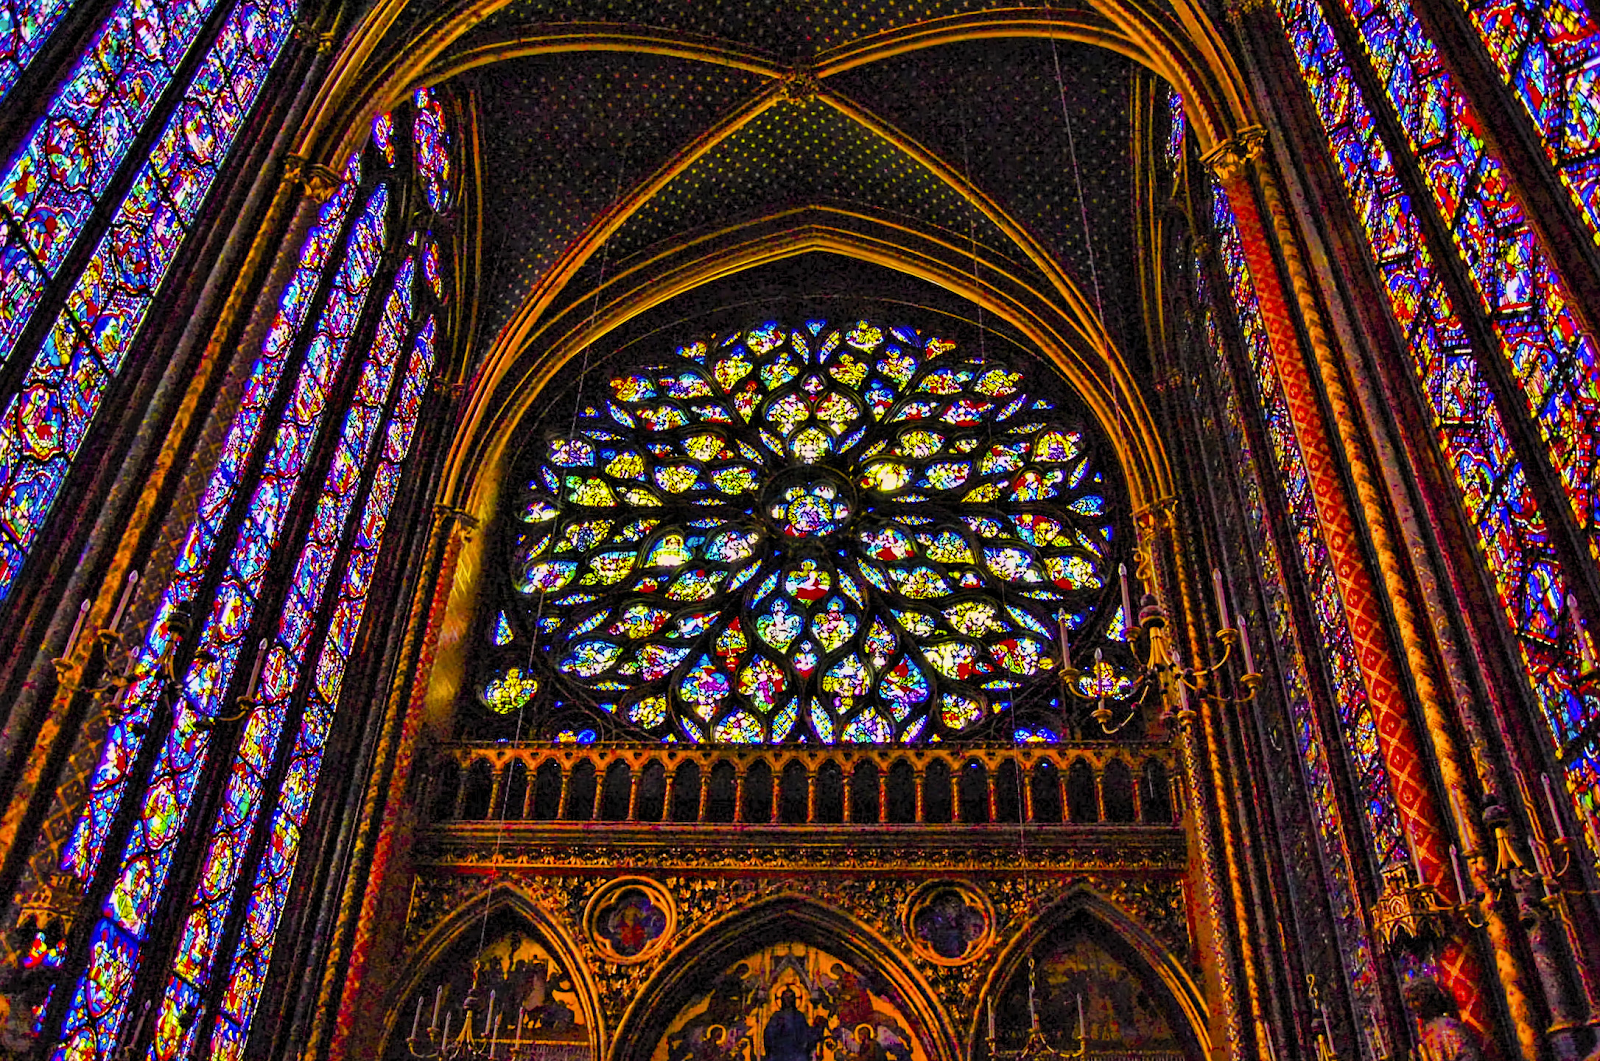
Nasir al-Mulk Mosque, Iran, 1800's

Materials:
-A small object, about the size of your fist
-A pencil
-A piece of white paper
-A black marker or pen
-Something to color with (colored pencil, marker, crayon)

Here's what we're making. I created it by tracing something I found in my house. Can you guess what it is?


If you guessed a roll of tape, you're right!


1. First, choose an object. It can be anything you want, as long as it's about the size of your fist.


2. Ready? Now, use your pencil to trace it onto the white paper. You can start anywhere you want.


3. Now, trace it again. BUT make sure that you put the object down so that it is on part of your first tracing.


4. See how some new shapes were created with the two tracings? Here, I will show you by highlighting it:


5. Now, continue to trace and overlap until you've filled the page. You should trace the object at least 8 times.


6. When you have it traced at least 8 times, go over all of your lines with a black marker or pen. this is what will look like the black lines in stained glass.


7. Then, notice all the new little shapes and start coloring them in.


Thursday, April 2, 2020

Second Grade Nature Sculptures

Second graders at The Rashi School learned about artist Andy Goldsworthy, who creates incredible sculptures using only materials from nature. They located a "sign of spring" in their yard and gathered materials to create a frame around it. 


Saturday, March 21, 2020

Goldsworthy Nature Sculptures (Rashi School Online Lesson)

Hello everyone! This is a lesson for my students at The Rashi School. I hope you'll join us!

Spring has sprung, and I'm loving being able to get out and walk around my neighborhood and explore all of the new and amazing sights. The beauty of nature is wonderful!

This made me think of one of my favorite artists, Andy Goldsworthy. He uses natural materials, and only natural materials, to create his sculptures:

No paint!
No glue!
Just nature!
Awesome!

Here are some of my favorite things made by Andy Goldsworthy:

land-art-andy-goldsworthy-2

land-art-andy-goldsworthy-3

land-art-andy-goldsworthy-4

land-art-andy-goldsworthy-23

So, here's what you're going to do! Read all the directions before you begin. 

  • First, find an outdoor space and look for a sign of spring- a new bud, a flower, etc. I found this blue one on my lawn in my backyard.  This is going to be the middle of your project. 
  • Now, collect and make piles of other things from nature- but don't pick or destroy anything, please! I used sticks, fallen leaves, rocks, and pine cones. 
  • You can take a few days to do this, a little bit at a time, and when you have enough stuff, start making your sculpture.  
  • You can rip or cut or break your things, but you can't use any art materials like paint or glue. 
  • Using your natural materials, create a series of shapes surrounding your sign of spring.
  • Photograph your finished work!
Here's the little blue flower I found growing in my lawn:


First, I surrounded it with a layer of pinecones. My son helped me collect them! 

Then, I made a frame out of sticks.

Next, I used rolled-up dead leaves to make triangles

Finally, I put rocks between the triangles.

Just for fun, when I was putting together my sculpture, I took a photo at each step and used the photos in iMovie to create a fun animation to show you. This is called stop-motion animation, and it took 75 photos to create. Enjoy!